Time to hit the roads – make sure your bike is ready to transition from trainer to outdoor riding
Tips on how to prepare your bike for outdoor riding after a long winter on the trainer.
We all look forward to riding our bikes in the sunshine after a long, cold winter. After spending a good chunk of the year pedaling a lot in the same spot, the urge to grab the bike from the trainer and go directly outdoors is something I strongly advise against.
By Nick Di Cristofaro
Many riders do not realize that indoor riding does, in fact, wear out parts of your bicycle. As we all know, we sweat a ton more while riding indoors. Not protecting certain parts of the bike from this corrosive stuff will destroy components if left unattended. I actually have seen a section of a drop handlebar totally disintegrate under the bartape due to the rider sweating over a solid winter of indoor training. Salt-soaked and damp, the handlebar tape acted as an acid sponge slowly eating away at the handlebar. This can obviously be a major safety issue if one were to just grab the bike off the trainer after a winter and head outdoors. What should you do to be ready to take on the great outdoors again? Read on.
The best way to be 100 per cent confident your ride is ready to go is to take it to a professional mechanic. An experienced mechanic will know what to look for and inspect, and should make the appropriate suggestions. If you want to give it a go yourself, here are some key items to look after:
- If you are using a trainer wheel/tire, replace it with your outdoor wheel/tire. Do not ride a “trainer only” tire outside. Although it’s not critical, you should replace your trainer skewer with your regular one
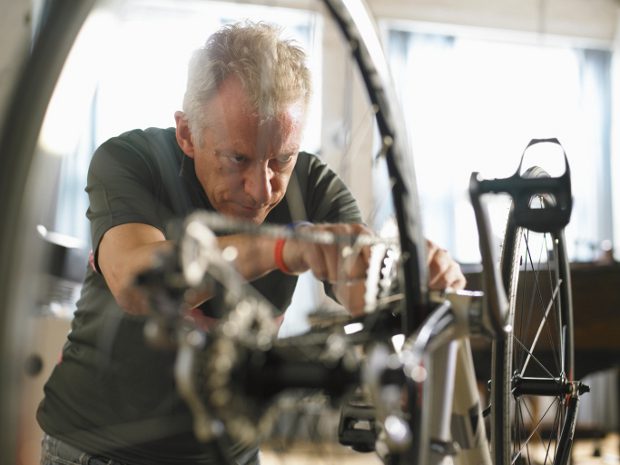
- Inspect the wear of the drive-train. Since there is constant load on the drive-train while riding indoors with no coasting, the drive-train does take a beating. Use a chain-wear gauge if you have one. If the chain is more than 90 per cent worn, consider a new cassette along with the new chain. A brand-new chain installed on a worn cassette will cause premature chain wear and will clunk and skip under load. Inspect your rear derailleur jockey wheels and front chain rings
- Derail the chain from the crank and give the crank a spin so you can feel and listen to any grinding or roughness/play. Remove the crank to inspect the bottom bracket (BB) further, if anything is felt, then overhaul it if necessary. I have also seen BB bearings destroyed from sweat that drips from leg to frame, then from frame to BB.
- Pull back the brake hood covers and have a look at where the housings enter. Again, if there is a lot of white residue, then it would be a good idea to get the cables/housing replaced. Corrosion could have already begun and could lead to cable failure. On a triathlon bike, this can be difficult, so remove the bartape. Now is a good time to replace it. Who doesn’t like fresh tape to start the season? Inspect the handlebar surface under the bartape. Remember what I said earlier about the disintegrated handlebar?
- Inspect cable housing/e-shift wire at the rear derailleur. This can get damaged over time from taking a bike on/off the trainer if you’re not careful.
- It is very important that you inspect your brakes. You haven’t used them all winter. I have seen calipers seize from sweat. Spray penetrating lube on the pivot points if the calipers are sticky (do not get any on the brake pad or rim surfaces). Inspect cables for fraying or corrosion and the housing for damage and replace them if necessary.
Again if you are unsure of what is necessary then seek the advice of a professional mechanic.
Nick Di Cristofaro is obsessed with two-wheels and speed. He was the first velofix owner/operator to be established in Ontario and brings over 20 years of combined experience working in the motorcycle and cycling industry. He has held such positions as a lead race team technician/crew chief for professional motocross teams, manufacturer’s technical specialist as well as bicycle mechanic for one of the GTA’s premier bike shops.