
With the turning of the calendar, we’re all told to make new resolutions, given tips on how to keep those resolutions and sometimes we even succeed at keeping them. For me, my triathlon resolution this year was to test more. Whether that’s FTP testing on the trainer, more regular 400m time trials in the pool or hitting up more local 5ks to get an updated baseline for running paces.
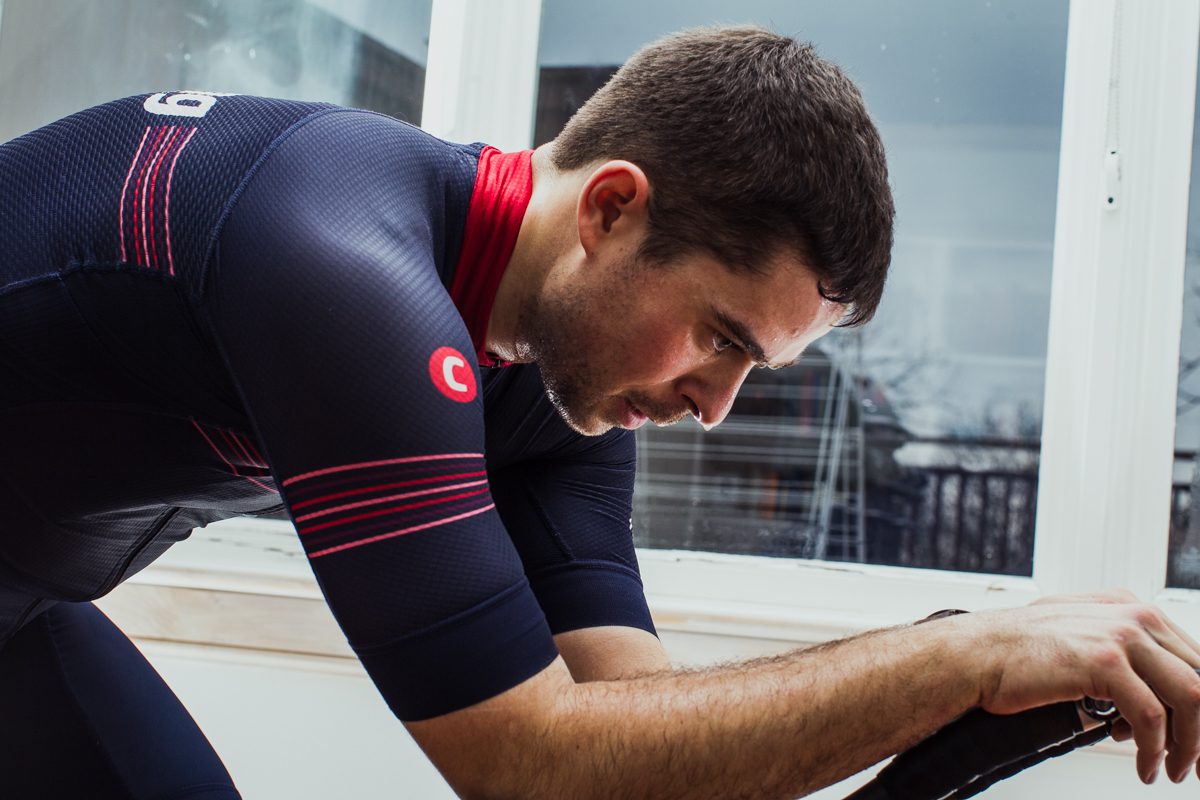
But if I’m being honest I hate the 20 minute FTP test. My trainer workouts are done either early before work or when I get home. And I don’t know about you but I find it really hard to come home from work and bury myself for a 20-minute effort. Or even worse wake up and fuel myself enough so I have enough energy to push through. But I know how important regular testing is to evaluate your progress. That’s why I was intrigued by the MAP test.
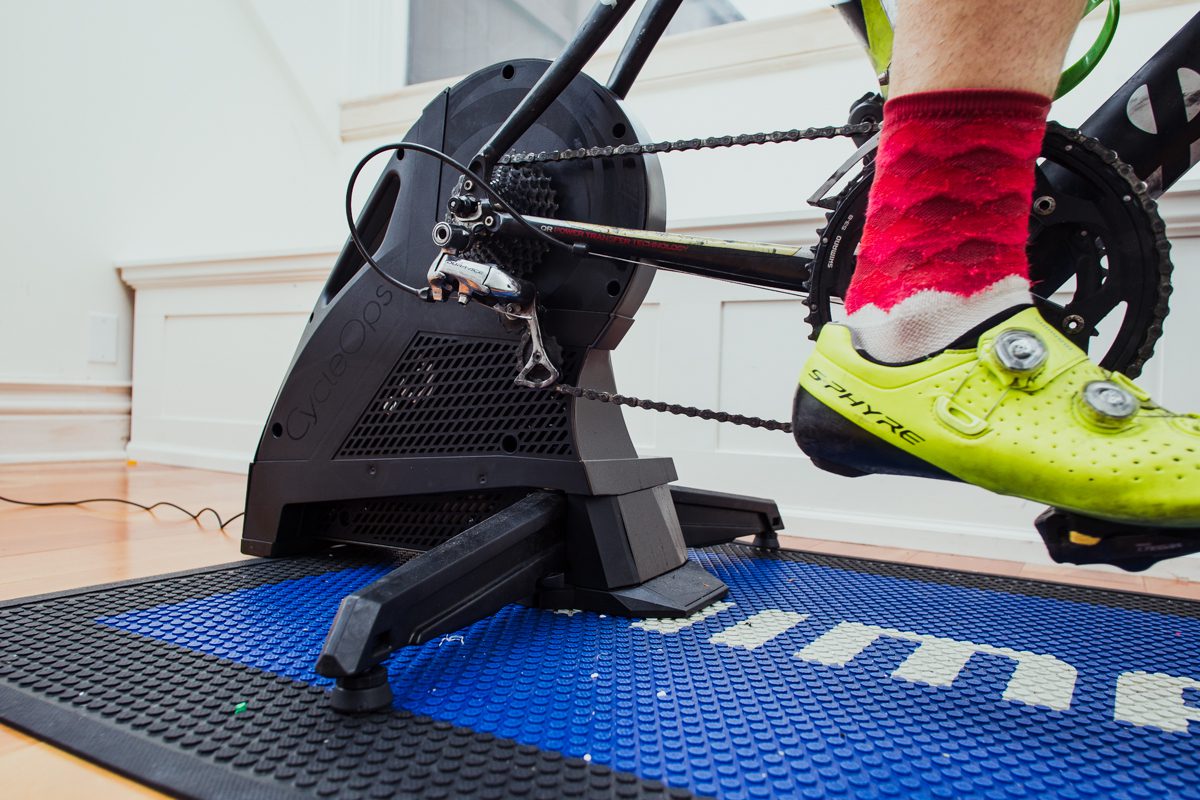
The MAP or step test as it is sometimes called isn’t necessarily easier, it definitely hurts like crazy at the end, but it is perhaps mentally less intimidating. Plus there is a growing amount of research that says people just don’t do their FTP test right. Whether that’s because they don’t know how to pace themselves and they blow up or they’re intimidated by the 20-minute effort and they go too easy. A smart trainer is likely essential for this test. A trainer like the CycleOps H2 ensures that you go up by the right wattage every time. Plus there’s no way you can cheat at the end. Once you reach failure in ERG mode there’s no faking it, you simply can’t push the pedals around to get things going again.
So how do you do the MAP test? Well, you start at 150 Watts and then take a step up by 25 watts every 2:30 seconds, riding until you reach failure. Then you take a percentage of your final wattage and then you can use this number to find your FTP and establish your zones.
The easiest way to do this is to plop a . ZWO file into your Zwift workouts folder and it will appear ready for you to use when you open up the game. Or if you’re like me and you can’t figure that out right away, you can always build your own with the workouts builder tool.
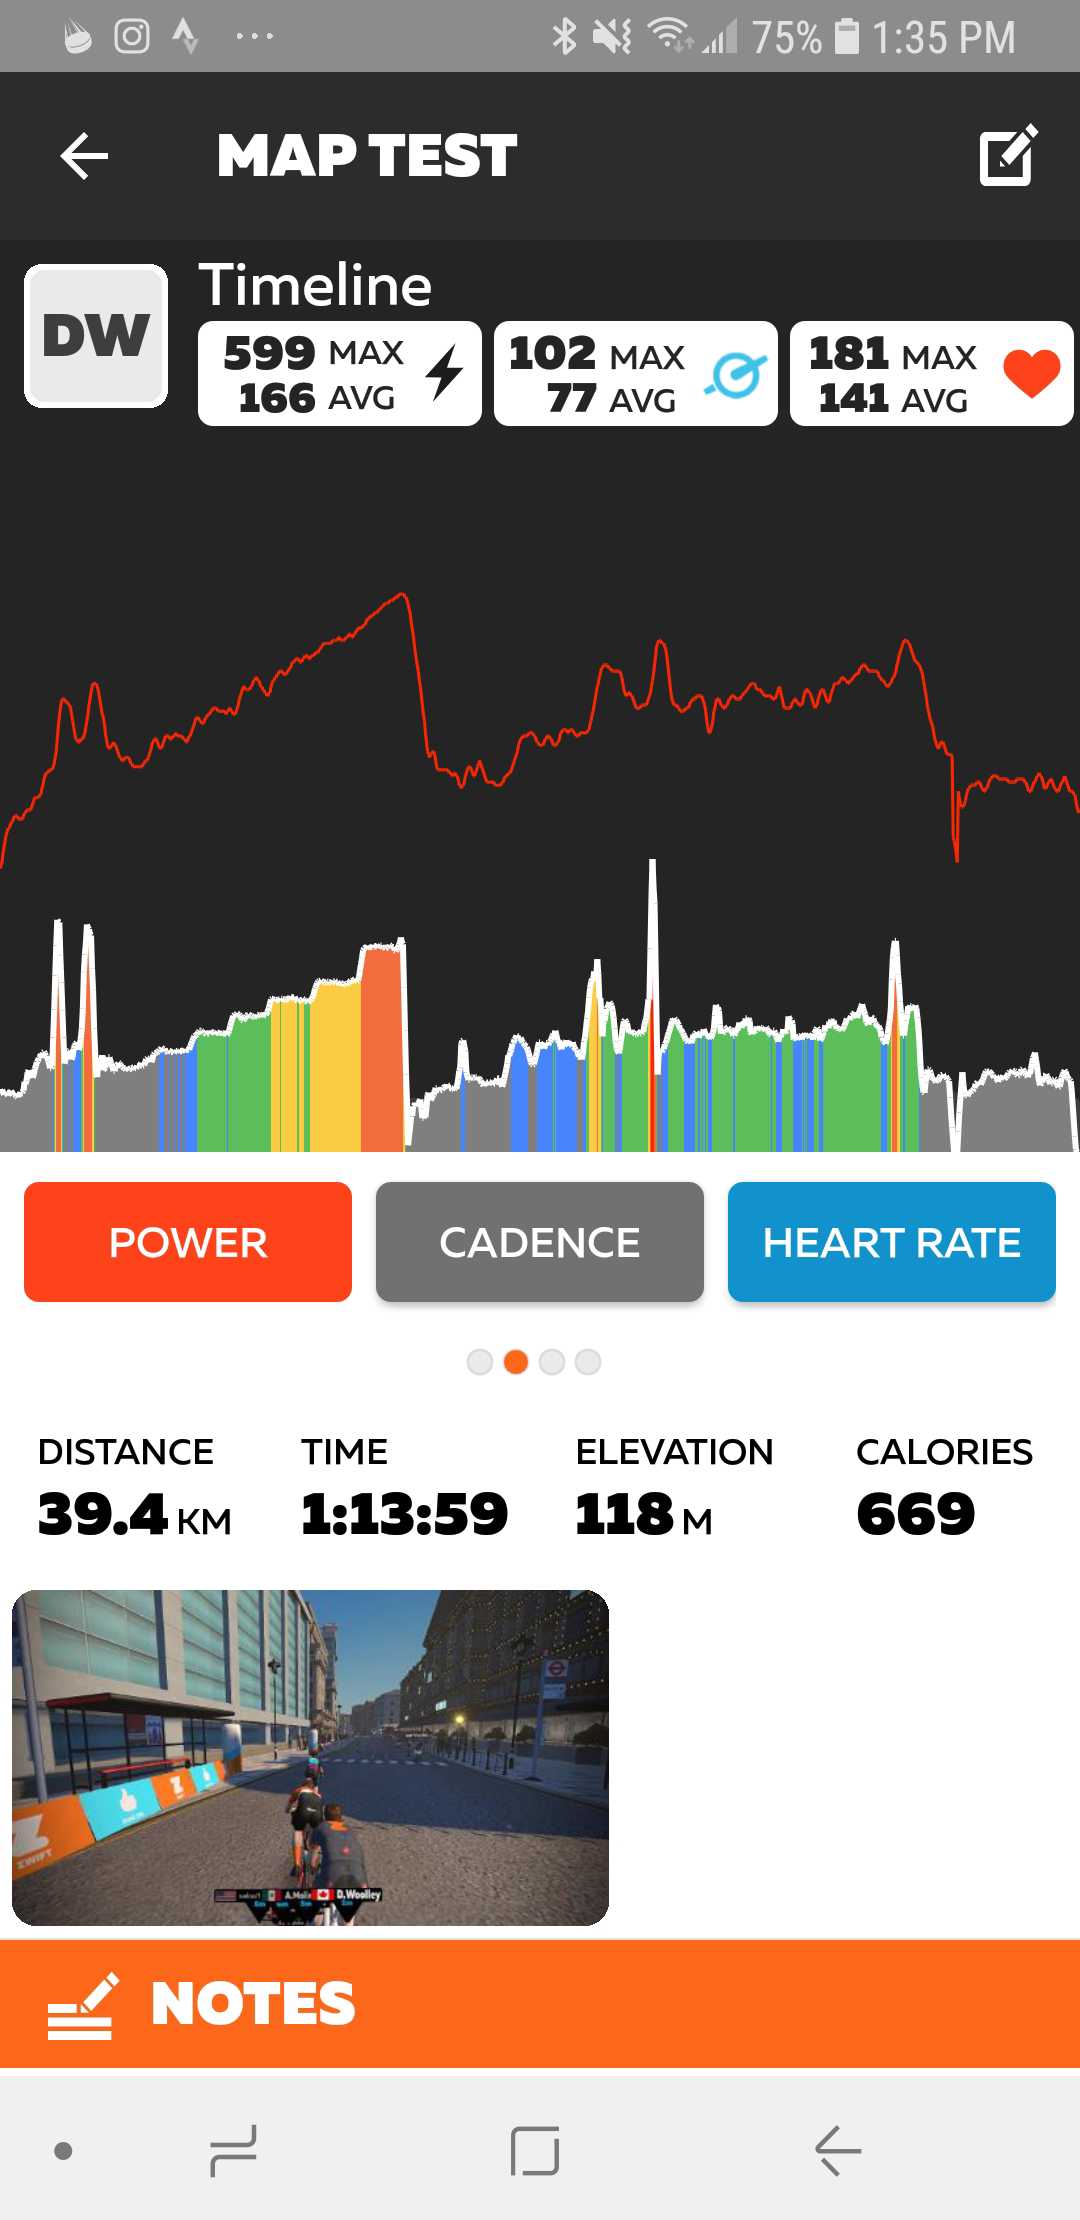
So here’s where I messed up. In my rush to build the workout, I skipped over a couple steps so I had a pretty large jump in the middle from 250 watts to 300 watts and I MAY have increased the time at two of the steps to 3 minutes instead of 2:30. So you could say there’s some room to improve on this test next time.
Nonetheless here’s how it looked for me.
And here’s how it should look when you do right:
*IMPORTANT, to run this properly in Zwift you need to set your FTP to 100 before you do this workout.
- 10-minute free ride
- 2:30 @ 150%
- 2:30 @ 175%
- 2:30 @ 200%
- 2:30 @ 225%
- 2:30 @250%
- 2:30 @ 275%
- 2:30 @300%
- 2:30 @325%
- 2:30 @350%
- 2:30 @ 375%
- 2:30 @ 400%
Once you reach failure you need to take not of your last completed stage and how many seconds you lasted into the incomplete stage. Once you have those figures plop them into your preferred FTP calculator to get your result.
This workout will feel easy until all the sudden it’s really hard, which is what makes it mentally easier than the 20-minute test which has you in the hurt box for a longer period of time. In the end, the numbers the test spits out should be similar. For me, the MAP test showed an increase in 4 points on my FTP and given the 10-week block I had done leading up to the test this felt like a reasonable result. This is the number I’ll be using for the next 6-week block and I’m looking forward to doing another test soon, but doing it right this time.